Integration Tools
| Site: | 4Insights |
| Curso: | 4Insights |
| Livro: | Integration Tools |
| Impresso por: | Usuário visitante |
| Data: | Monday, 13 Oct 2025, 22:51 |
Sumário
- 1. Installing 4Insights Pentaho data integration
- 2. Installing 4Insights Informatica Connector (Server)
- 3. Installing the 4Insights Informatica Connector (Client)
- 4. Installing the 4Insights Data Stage Plugin (Linux)
- 5. Installing the 4Insights Talend Data Integration
- 6. Installing the 4Insights Data Stage
1. Installing 4Insights Pentaho data integration
1. Perform the Pentaho Data Integration (PDI) installation using the link:
https://community.hitachivantara.com/docs/DOC-1009855
2. Download 4insights plugin for Pentaho:
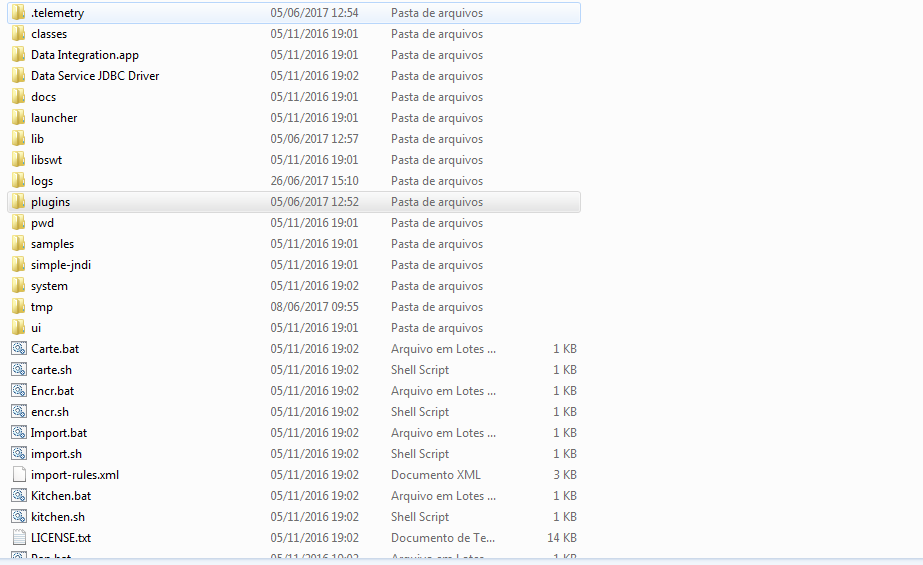
3. Extract the file (.zip) and copy the plugins folder to the Pentaho installation directory.
1.1. Windows
Including a Windows environment variable:
1. Download the file “hadoop-2.7.1.zip” at the following link: http://4insights-packages.s3.amazonaws.com/public/tools/windows/hadoop-2.7.1.zip
2. Extract the file “hadoop-2.7.1.zip” in the root directory (C:\)
3. Open the "Control Panel".
4. Open the "System" menu.
5. Click the "Advanced System Settings" menu.
6. Click the "Environment Variables" button.
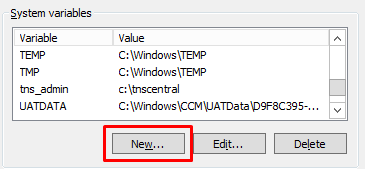
7. In the "System Variable" section, click the "New ..." button.
11. In the "System Variable" section, click the "New ..." button.
12. Enter the value “HADOOP_HOME” in the "Variable Name" field.
13. In the "Variable Value" field, enter the value “C:\hadoop-2.7.1”.
14. Click the "Ok" button.
15. Click the "Ok" button in the "Environment Variables" window.
16. Click the "Ok" button in the "System Properties" window.
1.2. Using the Plugin
1. With the Pentaho open, it creates a new transformation
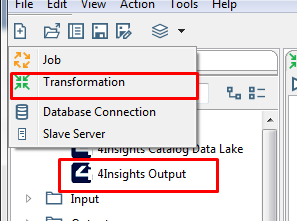
2. Open the "4Insights" category and drag the "4Insights Output" icon to the newly created transformation.
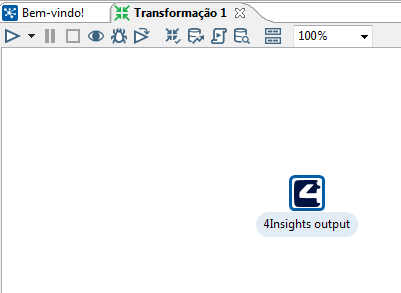
3. Double-click the "4Insights output" icon that was dragged to open.
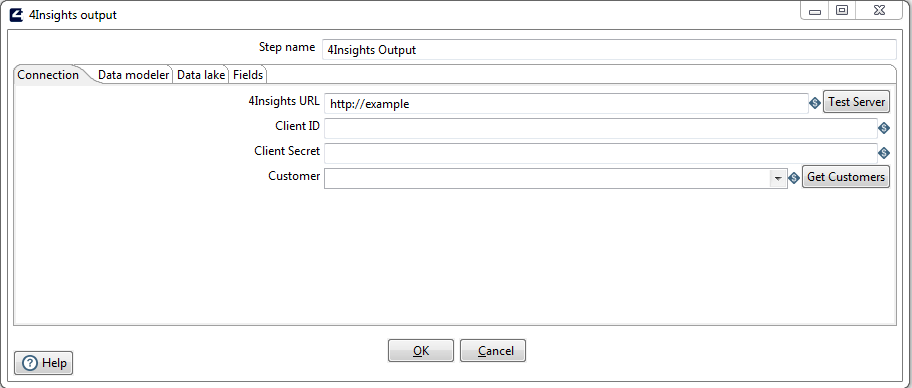
Field Description
Tab: Connection
4Insights URL: In this field you must enter the 4insights’ URL which is installed in your environment, also including the protocol (HTTP or HTTPS), example: http: //<public_dns>
Note: In the case of AWS machines this address is Public DNS.
Client ID: In this field you must enter the Client ID generated in the "Credentials" screen of 4Insights, this information is required for authentication in 4insights.
Note: In the case of environments purchased by the AWS Marketplace, please follow the chapter Obtaining access credentials to obtain this information.
Client Secret: In this field you must enter the Secret associated with the Client ID: mentioned above, this information is generated in the creation of the credential.
Note: In the case of environments purchased by the AWS Marketplace, please follow the chapter Obtaining access credentials to obtain this information.
Customer: In this field you must enter the customer name registered in 4Insights or you can click the "Get Customers" button to download the list with the clients that this ClientID has access to.
Tab: Data Modeler
Environment: In this field you must enter the name of the environment in which you wish to perform the transformation, this environment is associated with the client, for example: DEV, HOM, PROD, or you can click the "Get Environments" button to download the list with all the environments associated with the "Customer" selected in the field above.
Module: In this field you must enter the internal name of the module, created in the Data Modeler tool, or you can click the "Get Modules" button to download the list with all the modules associated with the environment selected in the field above.
Run module: This option when checked it informs you that when the transformation process is finished, it will run the module within 4Insights
Tab: Data Lake
Environment: In this field you must enter the name of the environment in which you wish to perform the transformation, this environment is associated with the client, for example: DEV, HOM, PROD, or you can click the "Get Environments" button to download the list with all the environments associated with the "Customer" selected in the field above.
Table: In this field you must enter the internal name of the table, created in the Data Lake catalog screen, or you can click the "Get Modules" button to download the list with all the tables associated with the environment selected in the field above.
Upload Mode: In this field you must choose between APPEND or OVERWRITE, APPEND will always include a new file in the repository, OVERWRITE will clean the folder of the table and upload a new file.
Execute Catalog After Upload: This option, when checked, indicates that when the transformation process is finished, it will run the cataloging process in the tool selected in the "Environments" screen.
When you fill in all the information in the previous step, the field list will be uploaded in the "Fields" tab.
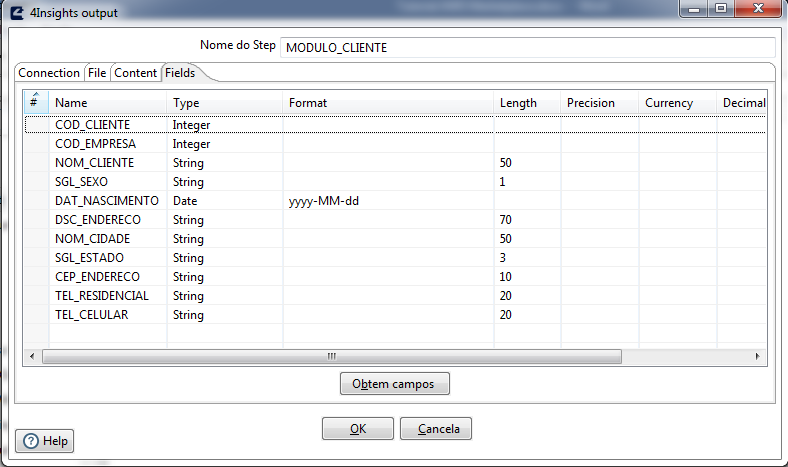
Note: To update the list of fields you can click the "Get Fields" button.
Click OK and save your transformation.
If you have further questions, please contact support@4insights.net
2. Installing 4Insights Informatica Connector (Server)
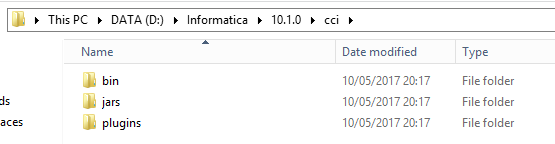
1. Upload the libraries (CCI) at this link: http://4insights-packages.s3.amazonaws.com/public/informatica/tools/CCI.zip
2. Extract the CCI.zip file and copy the relevant directory to the server operating system to the root folder of the Informatica’s components installation.
(ex: D:\Informatica\10.1.0\cci)

3. Open Control Panel> System and click the Advanced system settings button.
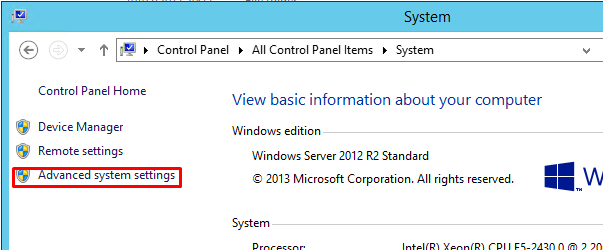
4. Click the "Advanced" tab and click the "Environment Variables" button.
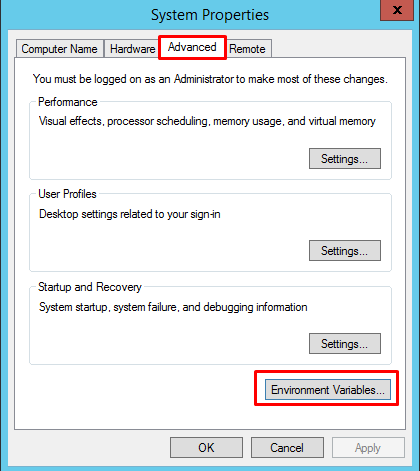
5. In the "System Variables" section click the "New ..." button

6. In the "Variable name" field add the value "CCI_HOME" and in the "Variable value" field add the directory path copied in step 2.
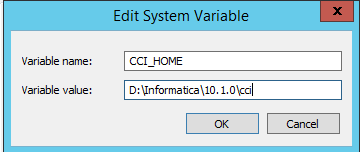
7. Click “OK”.
2.1. Installing the Connector for 4Insights Data Modeler
1. Download the connector at this link: http://4insights-packages.s3.amazonaws.com/public/latest/4insights-powercenter-datamodeler-2.2.0.zip
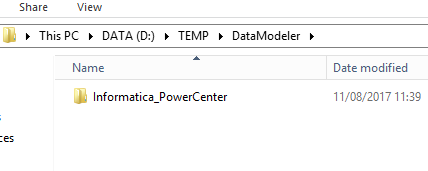
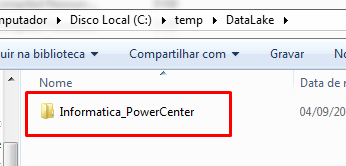
2. Extract the 4insights-powercenter-datamodeler-2.2.0.zip file to a temporary folder.

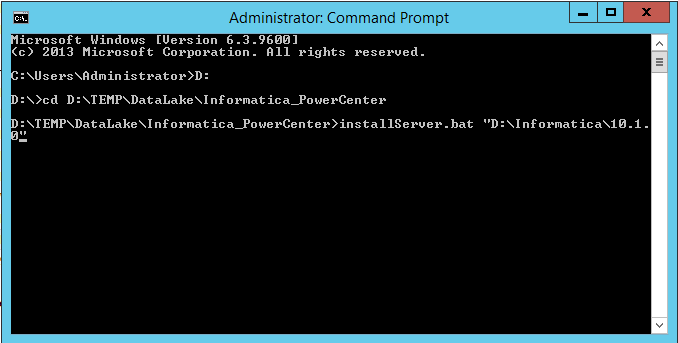
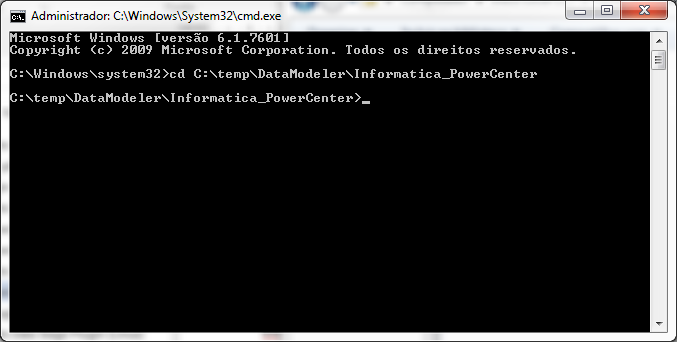
3. Open a Command Prompt as an administrator.
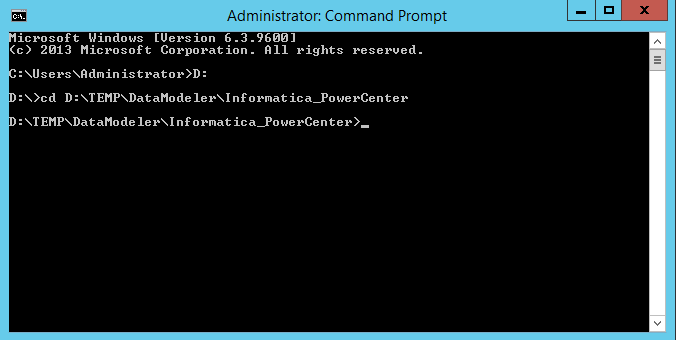
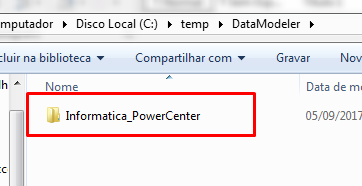
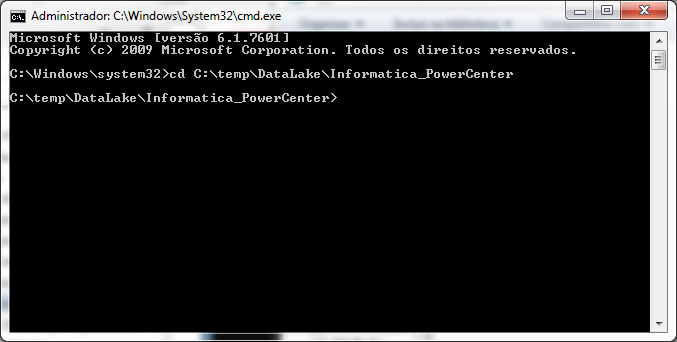
4. Enter the following command to browse "Informatica_PowerCenter" which was uncompressed in step 2.
cd [DIRETORIO]/Informatica_PowerCenter
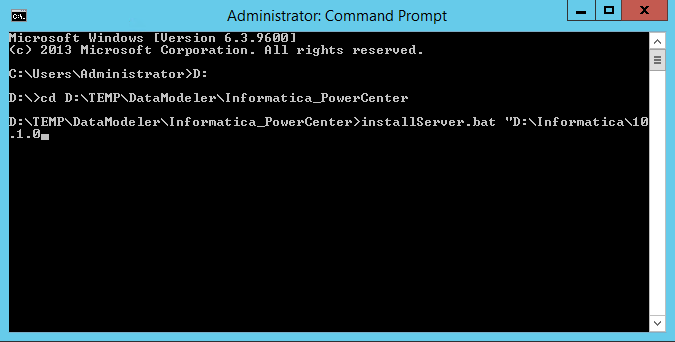
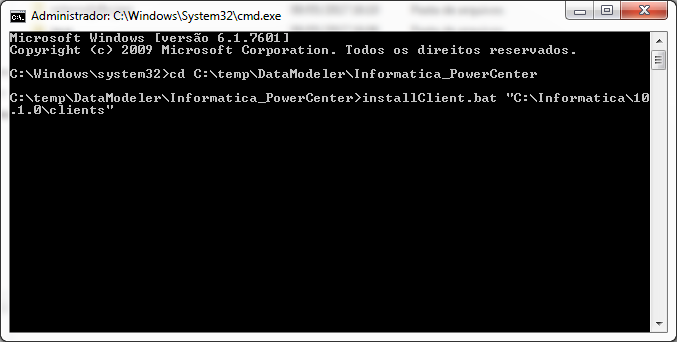
5. Run the (.bat) installServer.bat file, going through the installation path of the Informatica’s components.
5. Open the browser and get in the administration console.
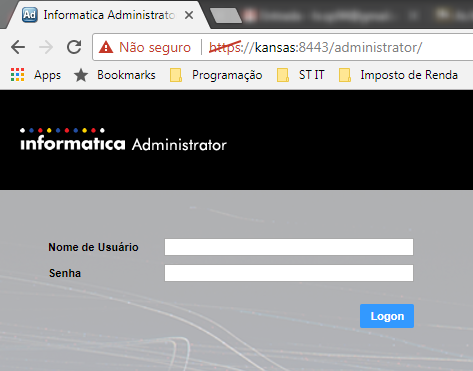
6. Type your user name and password and click Logon.
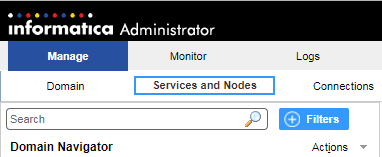
7. Click on the "Services and Nodes" tab.
8. Select the PowerCenter Repository from the "Domain Navigator" menu.

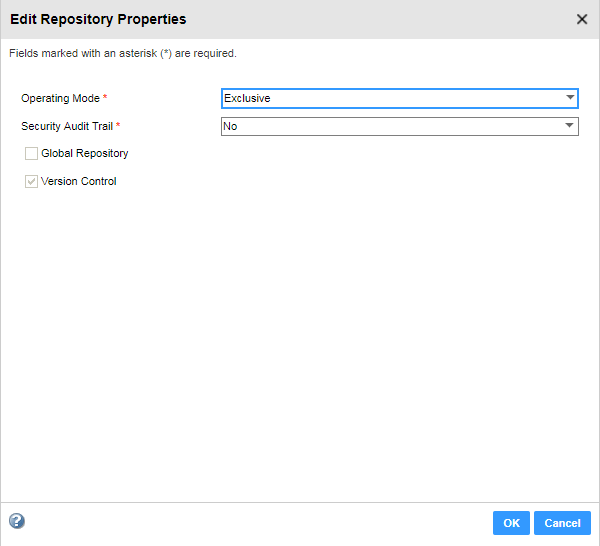
9. In the "Repository Properties" section click the "edit" button

10. Change the "Operating Mode" field from "Normal" to "Exclusive".

11. Click the "Ok" button and wait until the service is restarted.
12. Click the "Plug-Ins" tab.

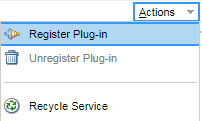
13. Click the "Actions" menu and click the "Register Plug-in" button.
14. In the "Choose a plug-in file" field select the "FourInsightsDataModelerPlugin.xml" file, which is in the directory extracted in step 2.
Informatica_PowerCenter /server/server/bin/Plugin
15. Select the "Update existing plug-in registration" option if the plugin has already been installed.
16. Type the user and password in the "Repository Authentication" section.
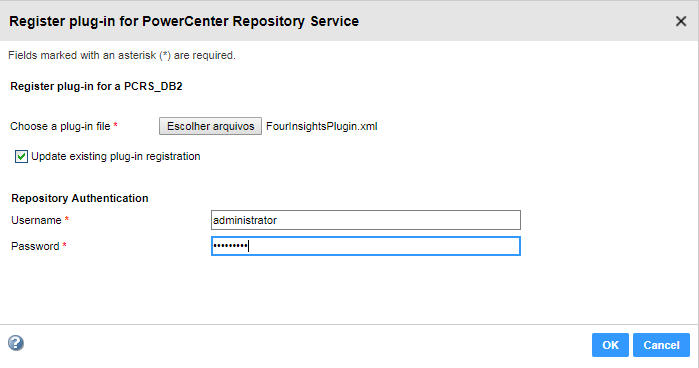
17. Click "Ok" and wait until the process is completed.
18. Go back to the "Properties" tab.

19. In the "Repository Properties" section click the "edit" button.

20. Change the "Operating Mode" field from "Exclusive" to "Normal".
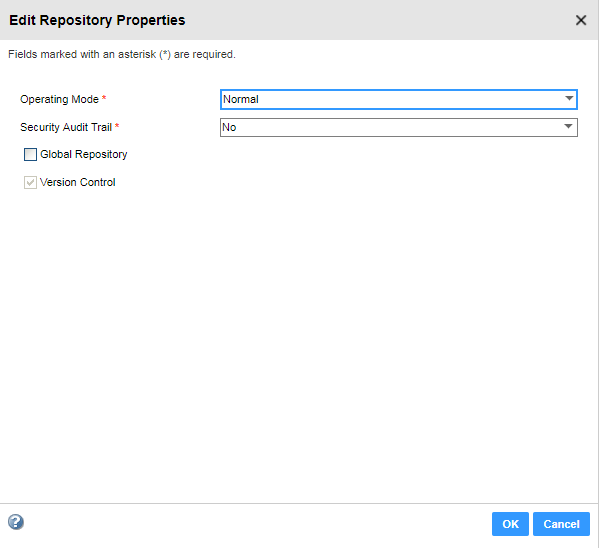
21. Click the "Ok" button and wait for the service to restart.
2.2. Installing the Connector for the 4Insights Data Lake
1. Download the connector at this link: http://4insights-packages.s3.amazonaws.com/public/latest/4insights-powercenter-datalake-2.2.0.zip
2. Extract the 4insights-powercenter-datalake-2.2.0.zip file to a temporary folder.
3. Open a Command Prompt as an administrator.

4. Type the following command to browse "Informatica_PowerCenter" which was uncompressed in step 2.
cd [DIRETORIO]/Informatica_PowerCenter

5. Run the (.bat) installServer.bat file, going through the installation path of the Informatica’s components.
5. Open the browser and get in the administration console.

6. Type your user name and password and click Logon.
7. Click on the "Services and Nodes" tab.

8. Select the PowerCenter Repository from the "Domain Navigator" menu.

9. In the "Repository Properties" section click the "edit" button

10. Change the "Operating Mode" field from "Normal" to "Exclusive".
11. Click the "Ok" button and wait until the service is restarted.
12. Click the "Plug-Ins" tab.

13. Click the "Actions" menu and click the "Register Plug-in" button.

14. In the "Choose a plug-in file" field select the "FourInsightsDataModelerPlugin.xml" file, which is in the directory extracted in step 2.
Informatica_PowerCenter /server/server/bin/Plugin
15. Select the "Update existing plug-in registration" option if the plugin has already been installed.
16. Type the user and password in the "Repository Authentication" section.

17. Click "Ok" and wait until the process is completed.
18. Go back to the "Properties" tab.

19. In the "Repository Properties" section click the "edit" button.

20. Change the "Operating Mode" field from "Exclusive" to "Normal".

21. Click the "Ok" button and wait for the service to restart.
3. Installing the 4Insights Informatica Connector (Client)
1. Download the libraries (CCI) at this link: http://4insights-packages.s3.amazonaws.com/public/informatica/tools/CCI.zip
2. Extract the CCI.zip file and copy the relevant directory to the server operating system to the root folder of the Informatica’s components installation.
(ex: D:\Informatica\10.1.0\cci)
3. Open Control Panel> System and click the Advanced system settings button.

4. Click the "Advanced" tab and click the "Environment Variables" button.

5. In the "System Variables" section click the "New ..." button
6. In the "Variable name" field add the value "CCI_HOME" and in the "Variable value" field add the directory path copied in step 2.

7. Click “OK”.
3.1. Installing the Connector for 4Insights Data Modeler
1. Download the connector at this link: http://4insights-packages.s3.amazonaws.com/public/latest/4insights-powercenter-datamodeler-2.2.0.zip
2. Extract the 4insights-powercenter-datamodeler-2.2.0.zip file to a temporary folder.
3. Open a Command Prompt as an administrator.

4. Enter the following command to browse "Informatica_PowerCenter" which was uncompressed in step 2.
cd [DIRETORIO]/Informatica_PowerCenter
5. Run the (.bat) installServer.bat file, going through the installation path of the Informatica’s components.
6. Open the PowerCenter Client installation directory
ex: C:\Informatica\10.1.0\clients\PowerCenterClient\client\bin
7. Find the “FourInsightsDataModeler.reg” file and "FourInsights_64.reg".

8. If your operating system is x64, run the FourInsightsDataModeler _64.reg file, otherwise run the FourInsightsDataModeler.reg file.
3.2. Installing the Connector for 4Insights Data Modeler
1. Download the connector at this link: http://4insights-packages.s3.amazonaws.com/public/latest/4insights-powercenter-datalake-2.2.0.zip
2. Extract the 4insights-powercenter-datamodeler-2.2.0.zip file to a temporary folder.
3. Open a Command Prompt as an administrator.
4. Enter the following command to browse "Informatica_PowerCenter" which was uncompressed in step 2.
cd [DIRETORIO]/Informatica_PowerCenter
5. Run the (.bat) installServer.bat file, going through the installation path of the Informatica’s components.

6. Open the PowerCenter Client installation directory
ex: C:\Informatica\10.1.0\clients\PowerCenterClient\client\bin
7. Find the “FourInsightsDataModeler.reg” file and "FourInsights_64.reg".

8. If your operating system is x64, run the FourInsightsDataModeler _64.reg file, otherwise run the FourInsightsDataModeler.reg file.
4. Installing the 4Insights Data Stage Plugin (Linux)
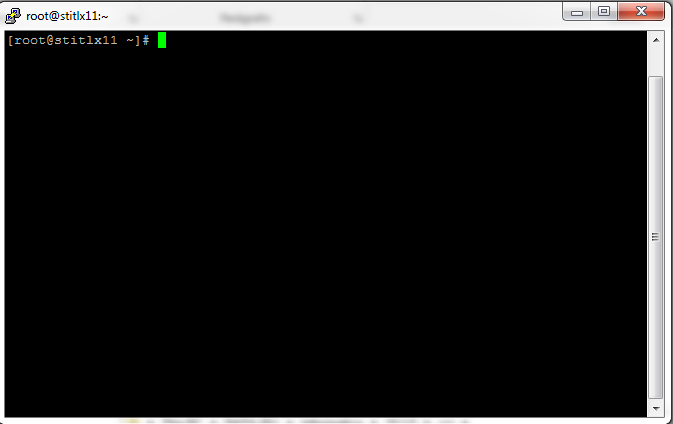
All commands in this section run within the DataStage server.
1. Connect via SSH on the server:
2. Run the command to install Java.
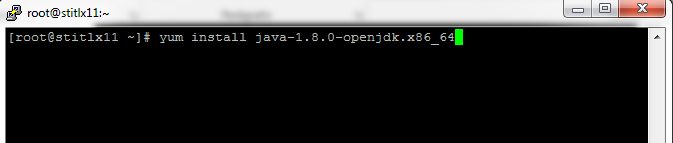
$ yum install java-1.8.0-openjdk.x86_64
3. Download the 4insights libraries to the /home/dsadm/4insights/ folder.
![]()
$ sudo wget https://4insights-packages.s3.amazonaws.com/public/latest/4insights-datalake-console-executor.jar
![]()
$ sudo wget https://4insights-packages.s3.amazonaws.com/public/latest/4insights-datamodeler-console-executor.jar
4. Download the 4InsightsDSRoutines.dsx file at this link: https://4insights-packages.s3.amazonaws.com/public/latest/4InsightsDSRoutines.dsx
5. Open the IBM DataStage Designer Client tool

6. Click Import > DataStage Components

7. Select the 4InsightsDSRoutines.dsx file downloaded in step 1 and click OK
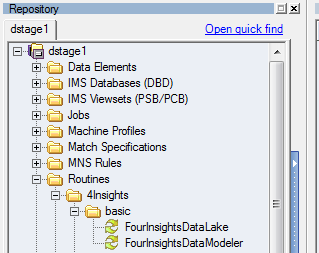
8. In the "Repository" window, browse the Routines folder and make sure the "FourInsightsDataLake" and "FourInsightsDataModeler" components are created
5. Installing the 4Insights Talend Data Integration
1. Perform the Talend Data Integration installation using the link: https://www.talend.com/download/
2. Set up a directory for storing external plugins within Talend Data Integration:
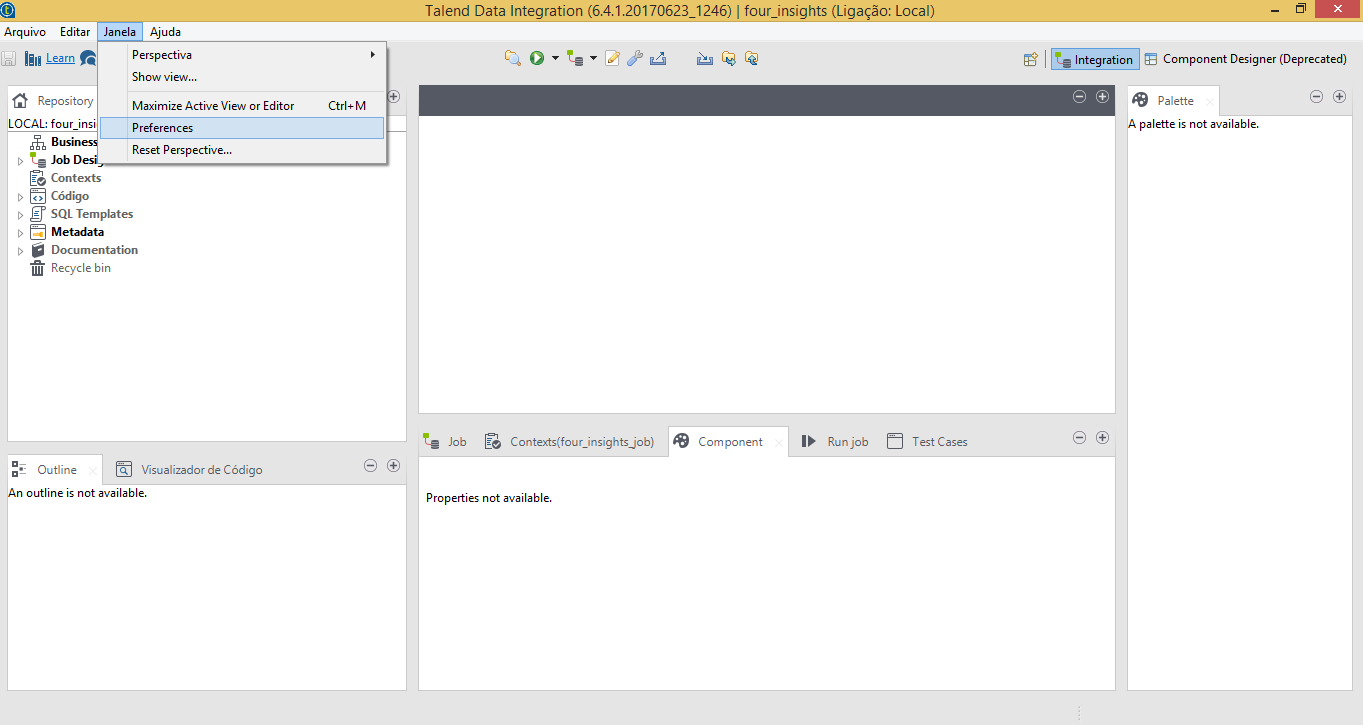
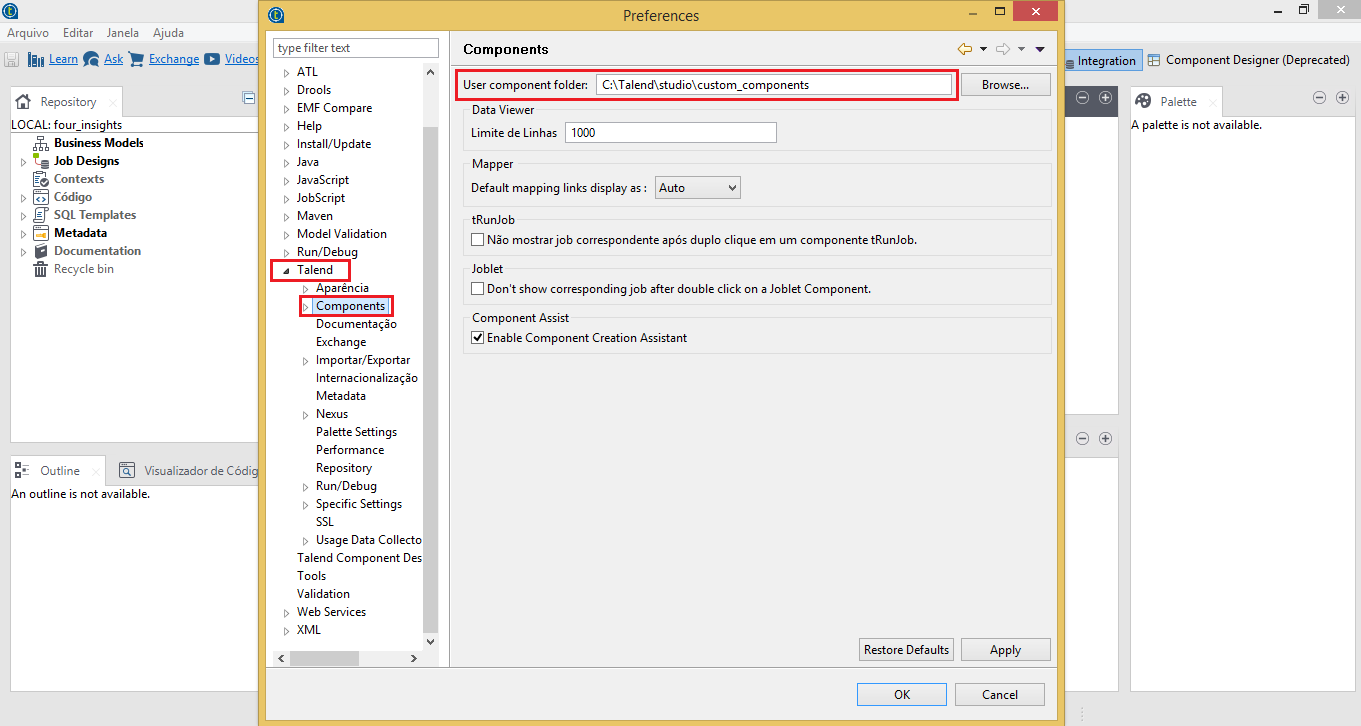
2.1 Go to “Preferences” option, in the menu, inside the “Janela” option.
2.2 Go to “Components” option, inside the “Talend” option, at the root of the options, and, in the field “User componente folder”, set up a directory for storing external plugins.
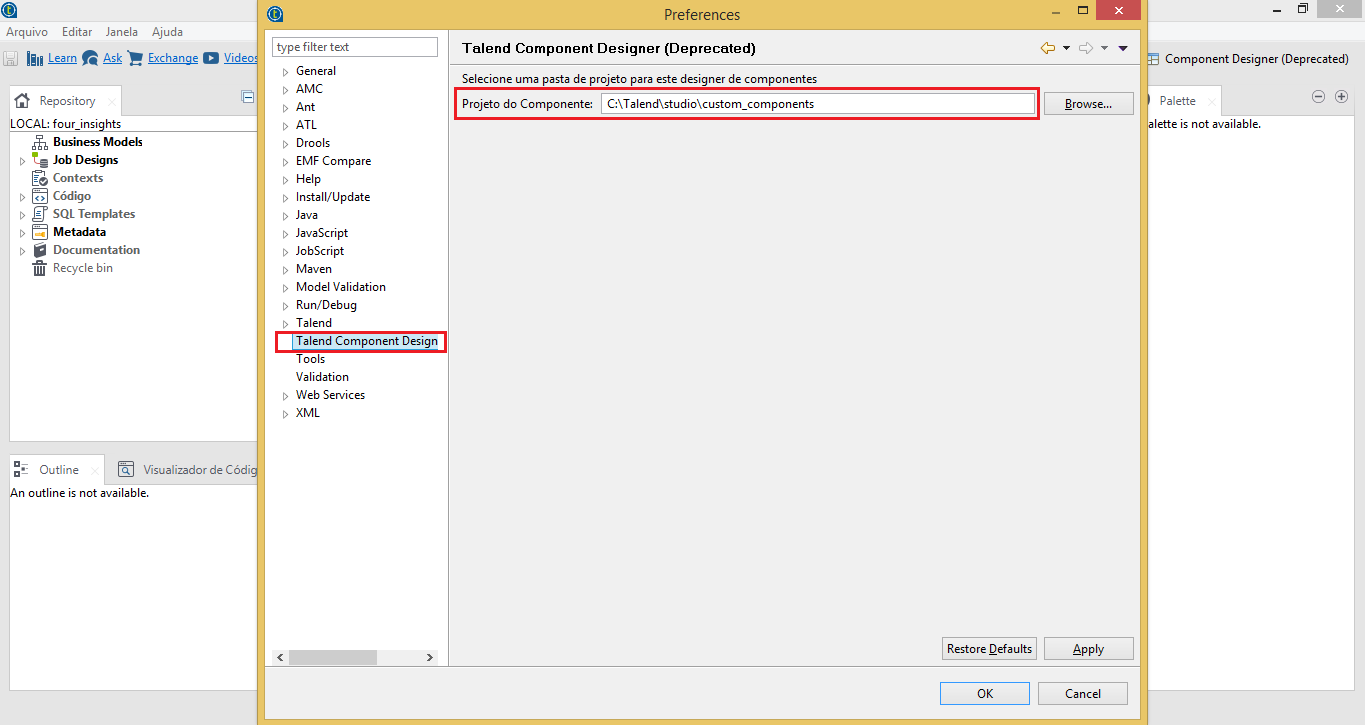
2.3 Go to “Talend Component Design” option, at the root of the options, and, in the field “Projeto do Componente”, set up the same directory that was used in the step 2.2.
*OBS: Only perform the steps 3 to 14 if the server below is WINDOWS!
If Talend Data Integration Jobs are not run on the server where Talend Studio is installed, the steps 3 to 14 must be performed within the server used to run Jobs, otherwise perform the steps normally*
3. Download the file “hadoop-2.7.1.zip” at the following link: http://4insights-packages.s3.amazonaws.com/public/tools/windows/hadoop-2.7.1.zip
4. Extract the file “hadoop-2.7.1.zip” in the root directory (C:\)

5. Open the "Control Panel".
6. Open the "System" menu.
7. Click the "Advanced System Settings" menu.
8. Click the "Environment Variables" button.
9. In the "System Variable" section, click the "New ..." button.
10. Enter the value “HADOOP_HOME” in the "Variable Name" field.
11. In the "Variable Value" field, enter the value “C:\hadoop-2.7.1”.
12. Click the "Ok" button.
13. Click the "Ok" button in the "Environment Variables" window.
14. Click the "Ok" button in the "System Properties" window.
15. Download the latest version of the 4insights plugin for Talend Data Integration, by the following links:
https://s3.amazonaws.com/4insights-packages/public/latest/tFourInsightsDataLakeOutput.zip
https://s3.amazonaws.com/4insights-packages/public/latest/tFourInsightsDataModelerOutput.zip
https://s3.amazonaws.com/4insights-packages/public/latest/tFourInsightsExecution.zip
16. Extract the files (.zip) and copy the plugins folder to the same directory used in the steps 2.2 and 2.3.
17. Open a new perspective on the Talend Data Integration, using the button “Open Perspective” ![]() , at the upper right corner of the screen, and, select the option “Component Designer”.
, at the upper right corner of the screen, and, select the option “Component Designer”.
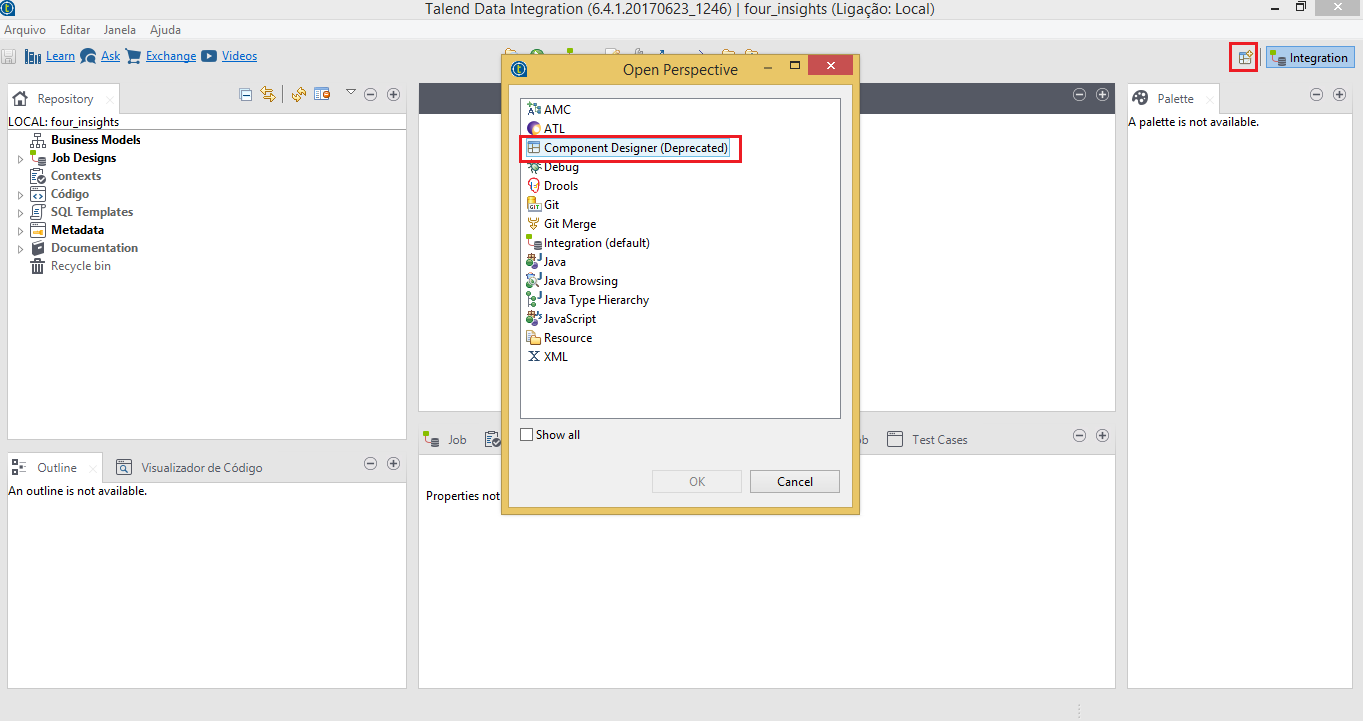
18. Beside of the button “Open Perspective” used in the step 17, select the option “Component Designer”.
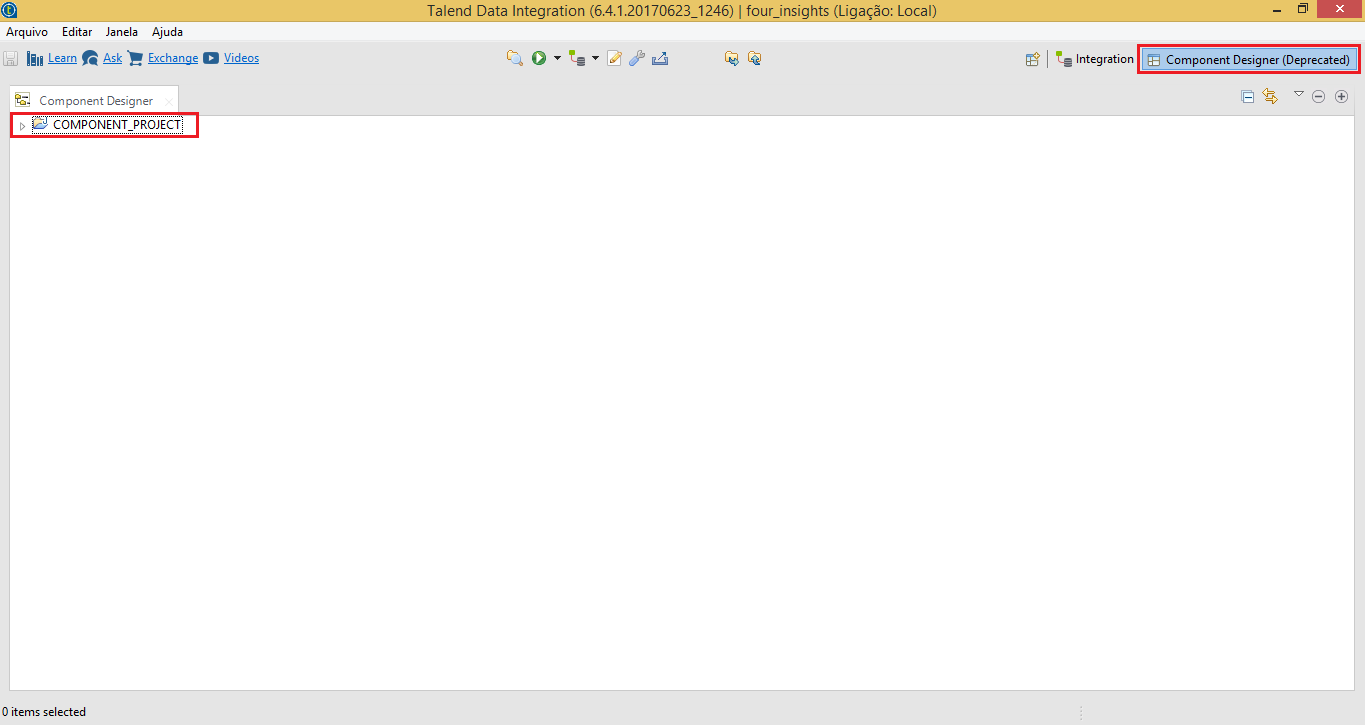
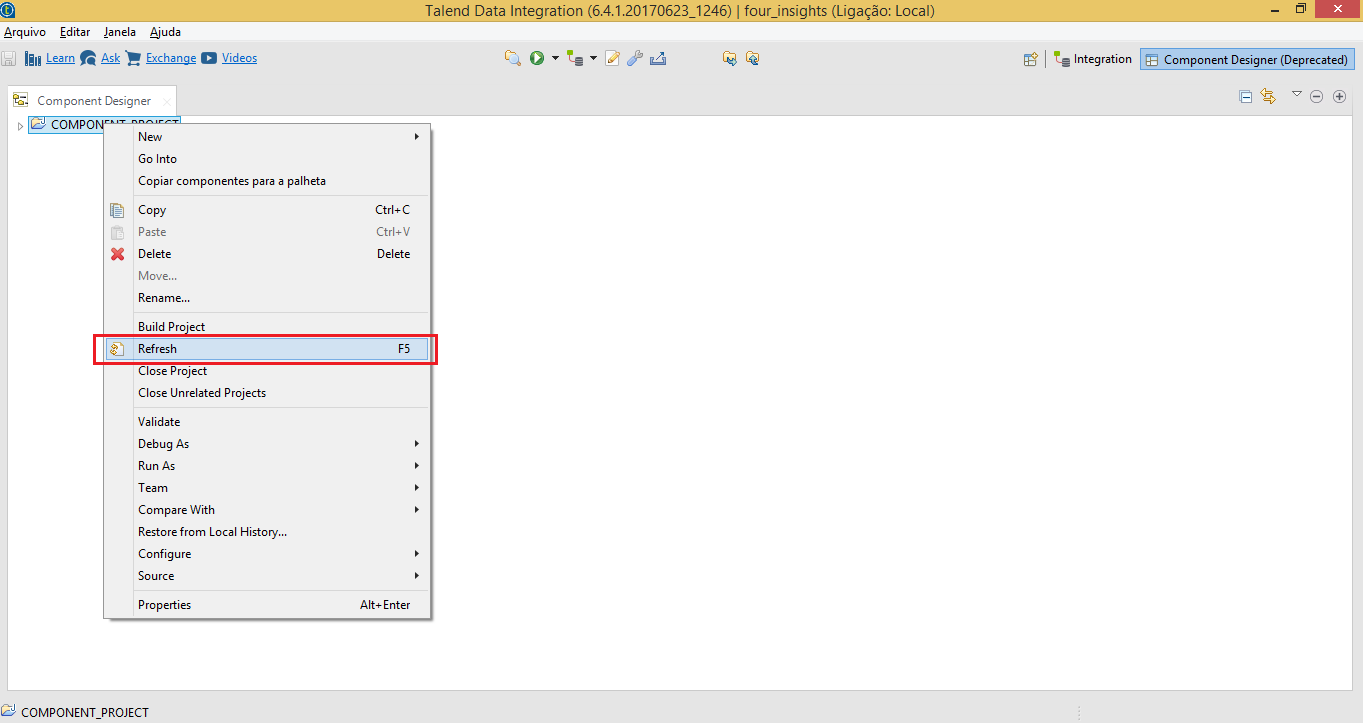
19. Select the root directory structure “COMPONENT_PROJECT” with a right-click, and, select the option “Refresh”.
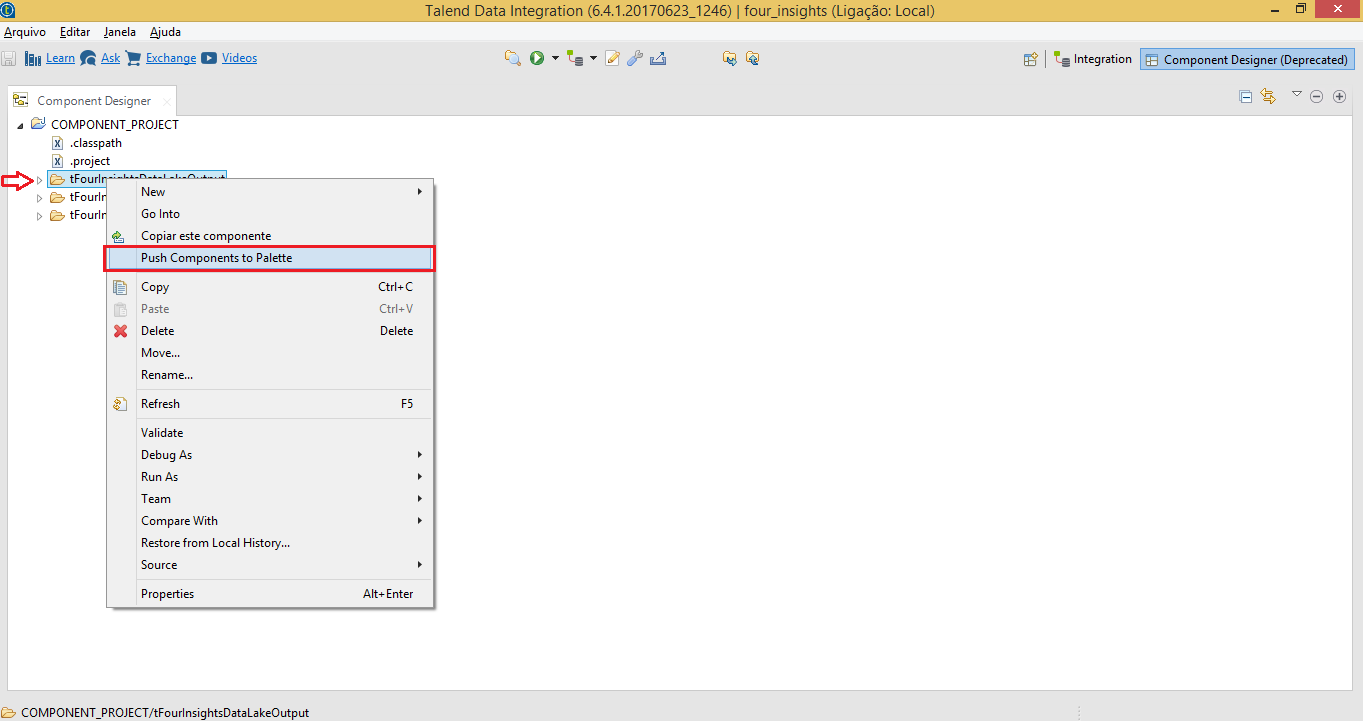
20. Open the updated directory structure in step 19, select one of the folders copied in step 16 with a right-click, and, select the option “Push Components to Pallete”.
21. To validate the installation of 4insights plugins, beside of the button “Open Perspective” ![]() select the Talend default perspective “Integration”, go to “Pallete” in the right corner of the screen, and type “Four Insights”. If the plugins downloaded in step 15 are presented according to the image, the installation was successful! Otherwise, contact us.
select the Talend default perspective “Integration”, go to “Pallete” in the right corner of the screen, and type “Four Insights”. If the plugins downloaded in step 15 are presented according to the image, the installation was successful! Otherwise, contact us.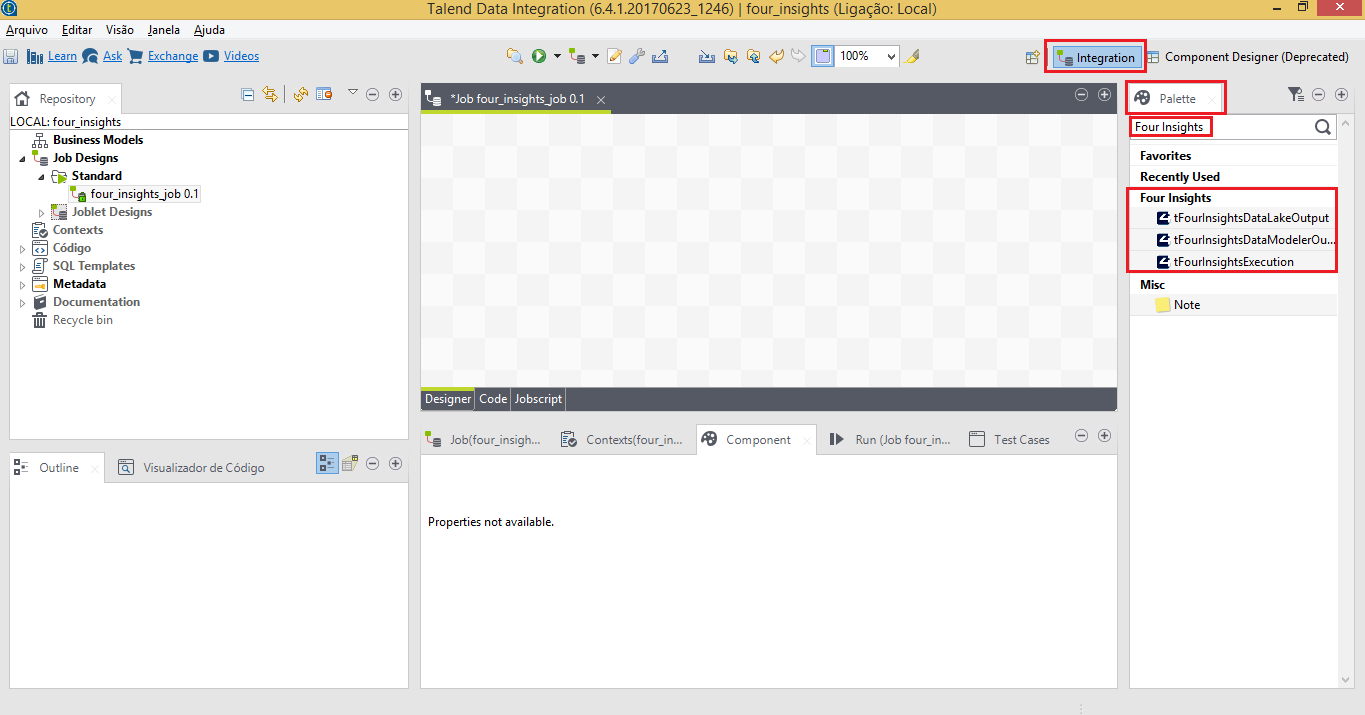
6. Installing the 4Insights Data Stage
1. Prerequisite
You have installed Java 8 on the Data Stage server.
2. Installation procedure
2.1 Download the latest version of the 4insights plugin for Data Stage, through the following links:
https://s3.amazonaws.com/4insights-packages/public/latest/4insights-datalake-console-executor.jar
https://s3.amazonaws.com/4insights-packages/public/latest/4insights-datamodeler-console-executor.jar
2.2 Extract the files (.zip) and copy them to the plugins folder in the Data Stage installation directory.
2.3 Download the 4InsightsDSRoutines.dsx file
2.4 On the Data Stage client, follow the steps below:
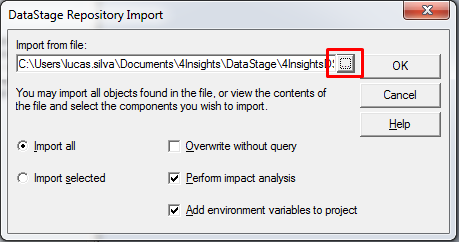
2.4.1 Import Menu >>> DataStage Components

2.4.2 Enter the directory where the 4InsightsDSRoutines.dsx file is located (item 4)

2.4.3 4Insights plugins will be available.

2.4.4 Clicking on the "For Insights Data Lake" plugin opens the window as shown below:

In this image we highlight the descriptions of the settings that will be informed by the user:
Arguments name | Description |
url | 4Insights server URL |
cliente_id | User authentication key |
client_secret | Authentication secret key |
customer | 4Insights Client Company |
environment | Environment of use (DEV, HOM, PROD) |
table | Table Name |
upload | Path and data file to upload |
catalog | True or False to run the 4Insights catalog process |
mode | File Upload Mode (APPEND | OVERWRITE) |
java_home | Java path installed on the server |
plugInstall | Plugin Installation Path |
2.4.5 With the plugin window open click on "Compile":

2.4.6 With the plugin window open click on "Test":

2.4.7 It will open a new window as the image below, fill in the fields according to 2.4.4 and click on "Run", or "Run All", to execute the import:
