Integration Tools
2. Installing 4Insights Informatica Connector (Server)
2.1. Installing the Connector for 4Insights Data Modeler
1. Download the connector at this link: http://4insights-packages.s3.amazonaws.com/public/latest/4insights-powercenter-datamodeler-2.2.0.zip
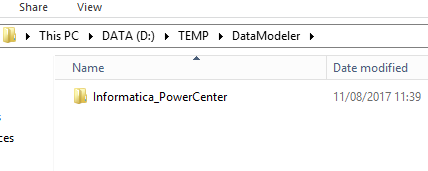
2. Extract the 4insights-powercenter-datamodeler-2.2.0.zip file to a temporary folder.
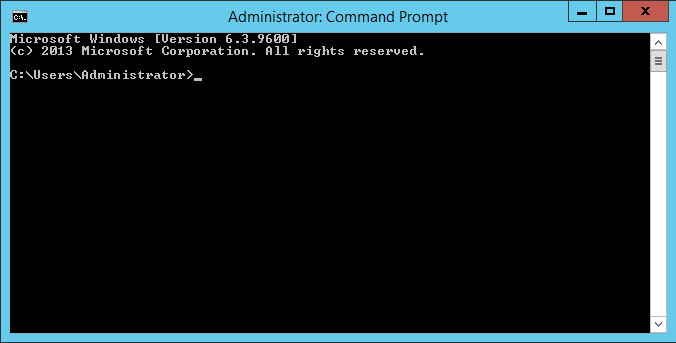
3. Open a Command Prompt as an administrator.
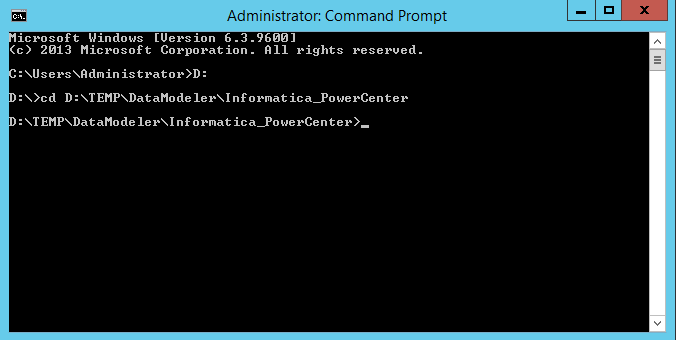
4. Enter the following command to browse "Informatica_PowerCenter" which was uncompressed in step 2.
cd [DIRETORIO]/Informatica_PowerCenter
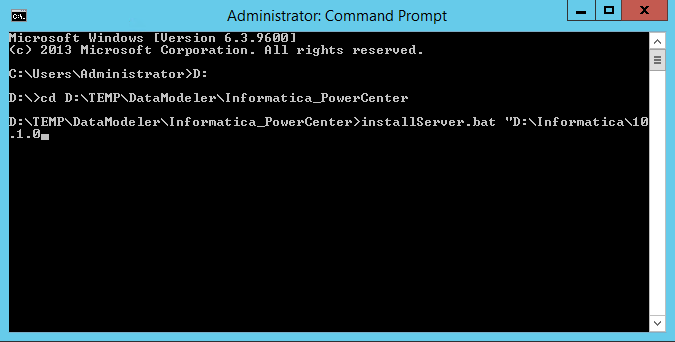
5. Run the (.bat) installServer.bat file, going through the installation path of the Informatica’s components.
5. Open the browser and get in the administration console.
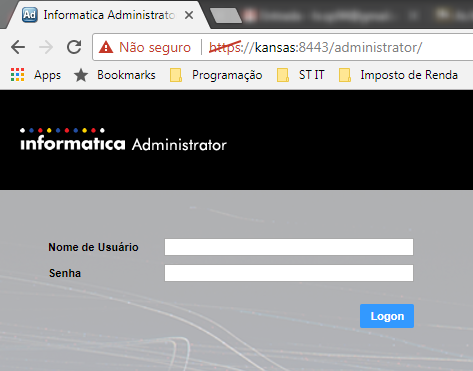
6. Type your user name and password and click Logon.
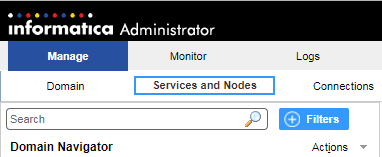
7. Click on the "Services and Nodes" tab.
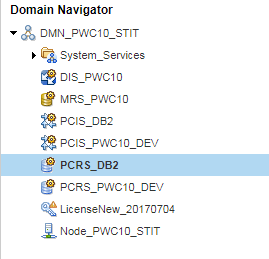
8. Select the PowerCenter Repository from the "Domain Navigator" menu.
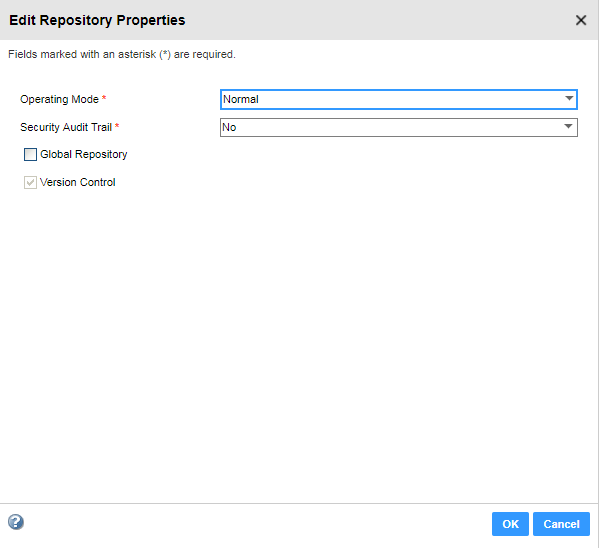
9. In the "Repository Properties" section click the "edit" button

10. Change the "Operating Mode" field from "Normal" to "Exclusive".
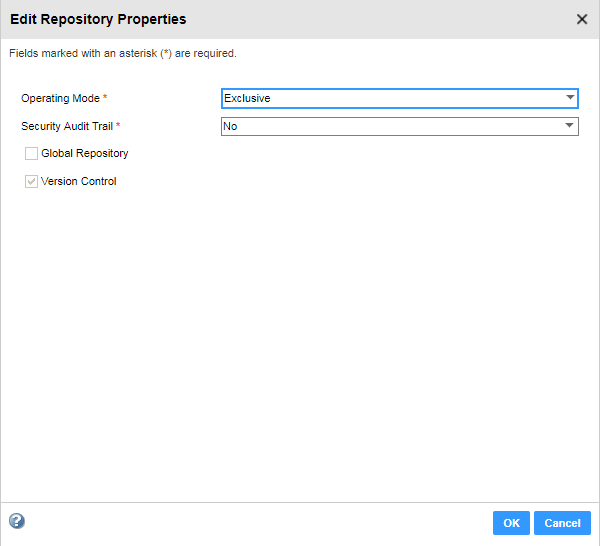
11. Click the "Ok" button and wait until the service is restarted.
12. Click the "Plug-Ins" tab.

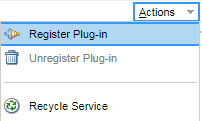
13. Click the "Actions" menu and click the "Register Plug-in" button.
14. In the "Choose a plug-in file" field select the "FourInsightsDataModelerPlugin.xml" file, which is in the directory extracted in step 2.
Informatica_PowerCenter /server/server/bin/Plugin
15. Select the "Update existing plug-in registration" option if the plugin has already been installed.
16. Type the user and password in the "Repository Authentication" section.
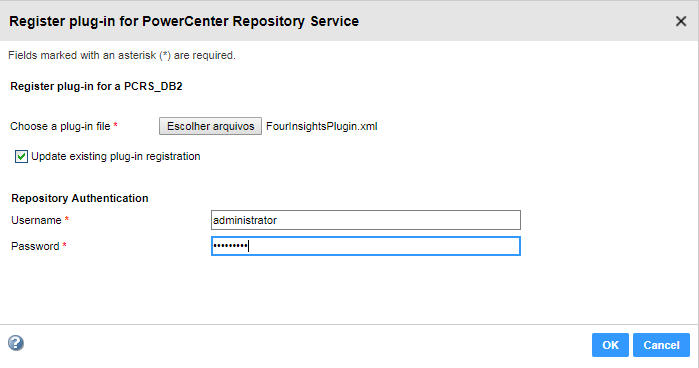
17. Click "Ok" and wait until the process is completed.
18. Go back to the "Properties" tab.

19. In the "Repository Properties" section click the "edit" button.

20. Change the "Operating Mode" field from "Exclusive" to "Normal".
21. Click the "Ok" button and wait for the service to restart.