Integration Tools
1. Installing 4Insights Pentaho data integration
1.2. Using the Plugin
1. With the Pentaho open, it creates a new transformation
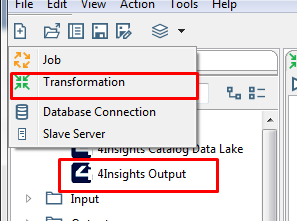
2. Open the "4Insights" category and drag the "4Insights Output" icon to the newly created transformation.
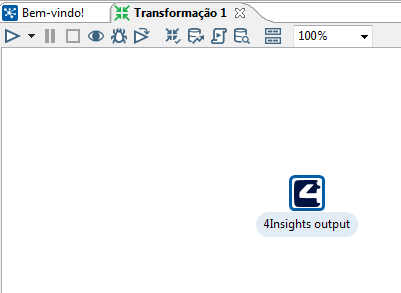
3. Double-click the "4Insights output" icon that was dragged to open.
Field Description
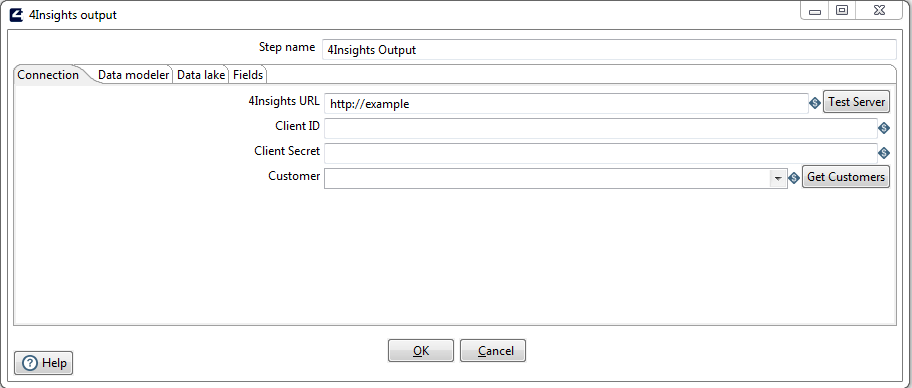
Tab: Connection
4Insights URL: In this field you must enter the 4insights’ URL which is installed in your environment, also including the protocol (HTTP or HTTPS), example: http: //<public_dns>
Note: In the case of AWS machines this address is Public DNS.
Client ID: In this field you must enter the Client ID generated in the "Credentials" screen of 4Insights, this information is required for authentication in 4insights.
Note: In the case of environments purchased by the AWS Marketplace, please follow the chapter Obtaining access credentials to obtain this information.
Client Secret: In this field you must enter the Secret associated with the Client ID: mentioned above, this information is generated in the creation of the credential.
Note: In the case of environments purchased by the AWS Marketplace, please follow the chapter Obtaining access credentials to obtain this information.
Customer: In this field you must enter the customer name registered in 4Insights or you can click the "Get Customers" button to download the list with the clients that this ClientID has access to.
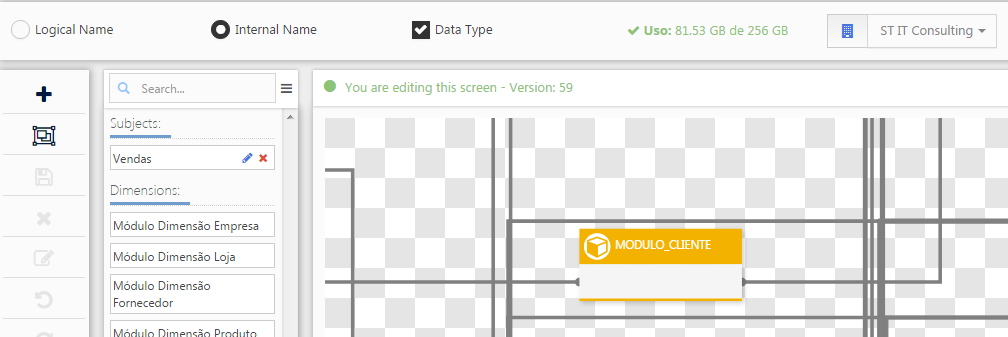
Tab: Data Modeler
Environment: In this field you must enter the name of the environment in which you wish to perform the transformation, this environment is associated with the client, for example: DEV, HOM, PROD, or you can click the "Get Environments" button to download the list with all the environments associated with the "Customer" selected in the field above.
Module: In this field you must enter the internal name of the module, created in the Data Modeler tool, or you can click the "Get Modules" button to download the list with all the modules associated with the environment selected in the field above.
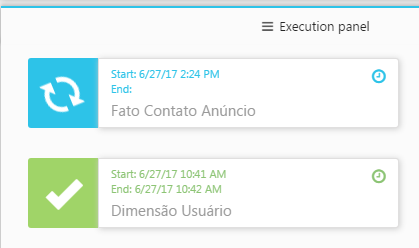
Run module: This option when checked it informs you that when the transformation process is finished, it will run the module within 4Insights
Tab: Data Lake
Environment: In this field you must enter the name of the environment in which you wish to perform the transformation, this environment is associated with the client, for example: DEV, HOM, PROD, or you can click the "Get Environments" button to download the list with all the environments associated with the "Customer" selected in the field above.
Table: In this field you must enter the internal name of the table, created in the Data Lake catalog screen, or you can click the "Get Modules" button to download the list with all the tables associated with the environment selected in the field above.
Upload Mode: In this field you must choose between APPEND or OVERWRITE, APPEND will always include a new file in the repository, OVERWRITE will clean the folder of the table and upload a new file.
Execute Catalog After Upload: This option, when checked, indicates that when the transformation process is finished, it will run the cataloging process in the tool selected in the "Environments" screen.
When you fill in all the information in the previous step, the field list will be uploaded in the "Fields" tab.
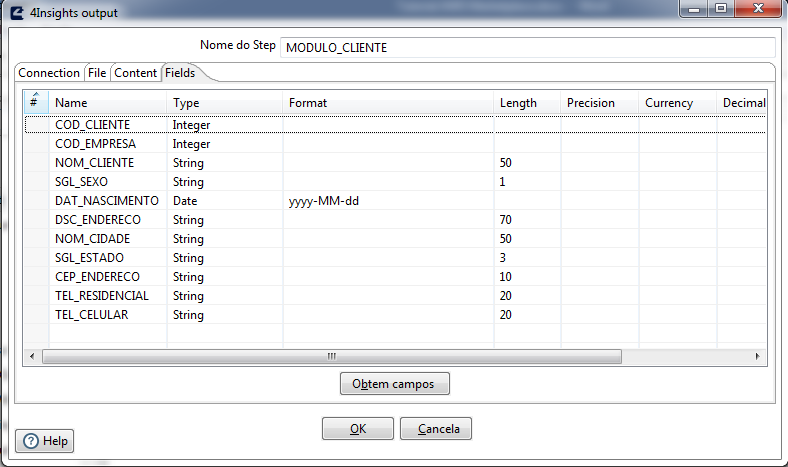
Note: To update the list of fields you can click the "Get Fields" button.
Click OK and save your transformation.
If you have further questions, please contact support@4insights.net